Resource guide · The trim table

Bleed Printing 101: Get Perfect Edge-to-Edge Results

Every piece that runs color to the edge is printed on a larger sheet, then cut down. Bleed is the extra 0.125 inch of art that puts the blade in ink instead of bare paper — the trim table tells the whole story in three lines.

Download the guide

PDF · 1 page · 990 KB

Bleed Trim Safe area
Trim — the blade lands here Safe area — type stays 0.125″ inside Bleed — art runs 0.125″ past the cut Waste — trimmed away

01 The mechanics

Prevent white edges around your piece

Cutting is mechanical, and mechanical means tolerance: sheet to sheet, the blade lands a hair to either side of the trim line. If a color, photo, or background stops exactly at the edge, that hair of drift is enough to expose a white sliver of bare paper.

Bleed absorbs the drift. You extend any background color, photo, or graphic 0.125 inch past the finished size on every edge, and the blade cuts through ink no matter which way it wanders. Clean edges, and every piece in the run looks the same.

Art stops at the trimThe cut drifts a fraction of a millimeter — a white sliver ships on the edge.
Art runs past the trimSame drift, same blade — full color to the edge on every sheet.
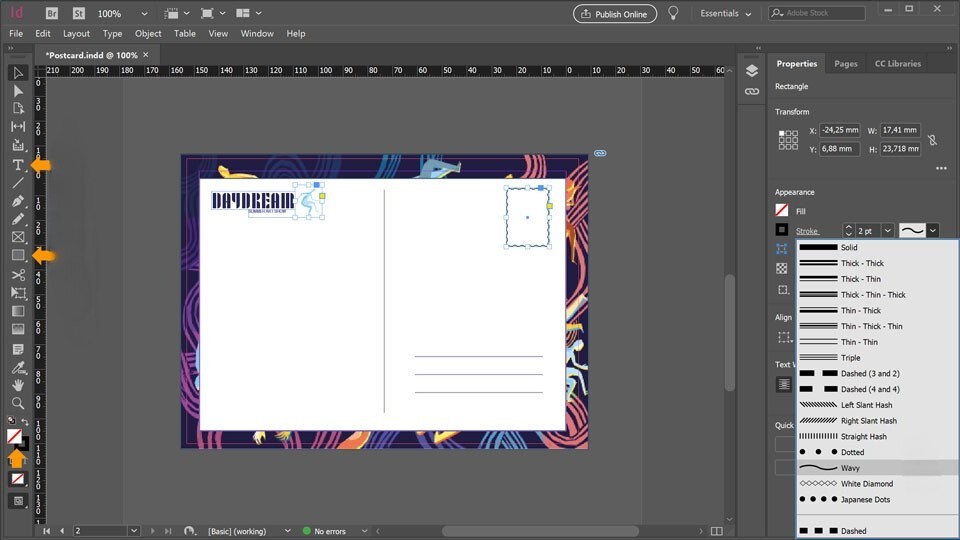
Postcard layout in InDesign with the background artwork extended past the trim edge to the bleed guide
A file set up right: the postcard’s background art keeps going past the trim, all the way to the bleed guide.

02 The numbers

How much bleed to add

The trim size stays the finished size — bleed is built outside it, on every side.

Business cards, postcards, brochures, flyers Most documents — anything cut on the guillotine
0.125 in / side
Posters, rigid signs, banners Large format wants a larger buffer
0.25–0.5 in / side
Lamination, die cutting, contour cutting, mounting Specialty finishing moves the numbers — ask before you build the file
Ask us

Whatever the piece, the export is the same: a PDF with crop marks and the document bleed included. Each walkthrough below ends on that dialog.

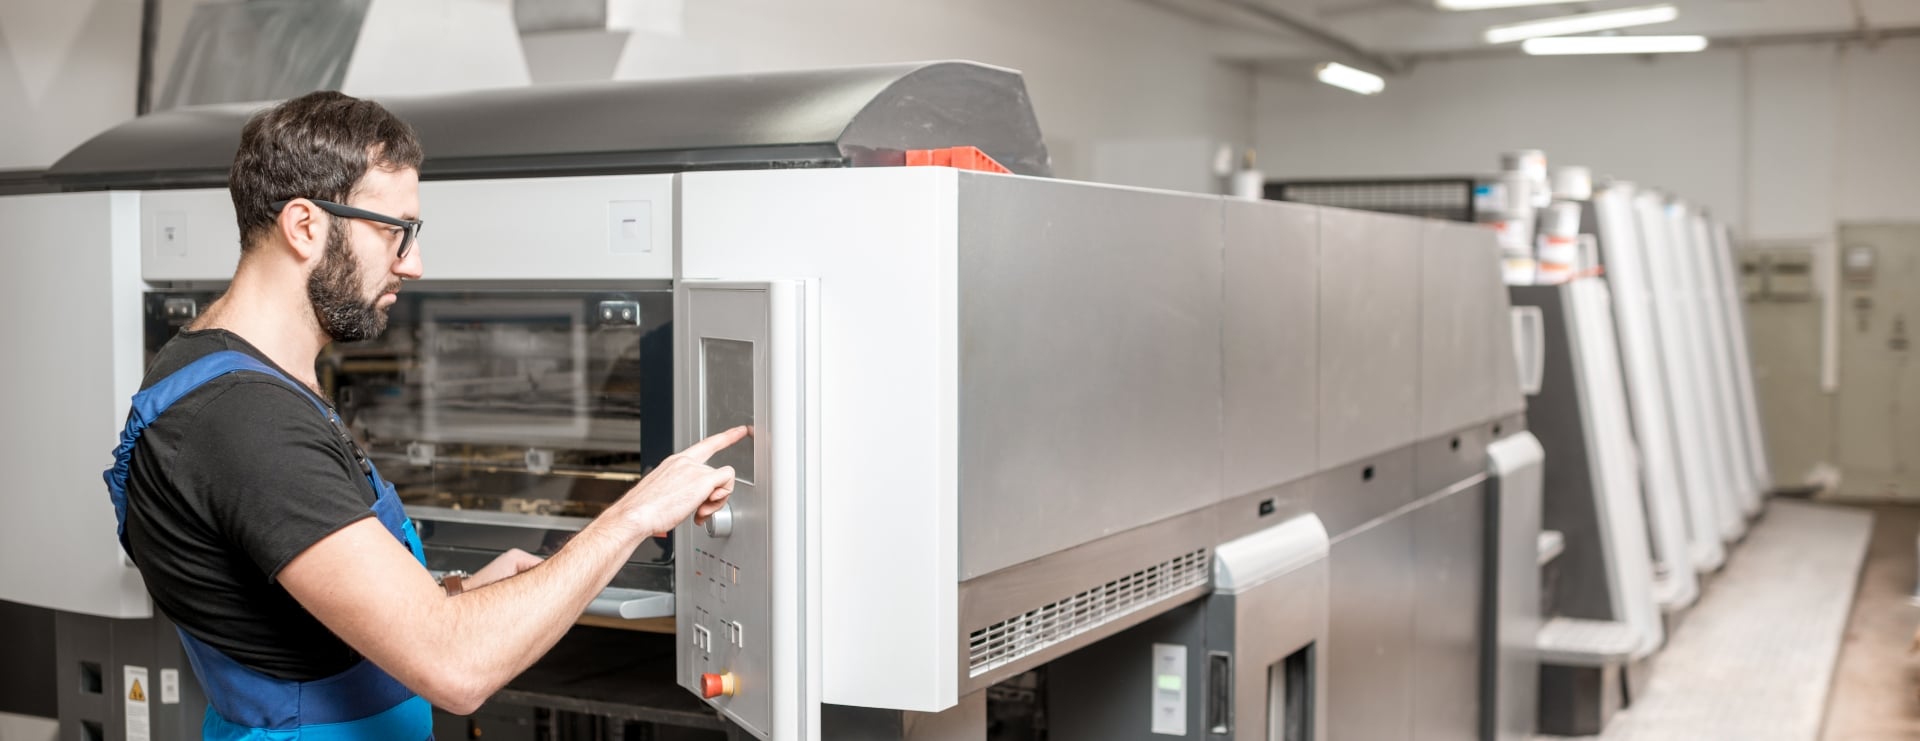
Press operator at the console of an offset press with the print units running behind him

The sheet is always bigger than the piece. Bleed decides what the blade cuts through — ink, or bare paper.

03 The setup

Add bleed in the tool you design in

The values never change — 0.125 inch of bleed, type held 0.125 inch inside the trim, a print PDF with crop marks. What changes is where each tool keeps the switches.

How to add print bleed in Canva

Bleed lives in File settings

  1. Create a new design at the final trim size.
  2. Click File › Settings › Show print bleed. Canva draws a faint guide just outside the canvas.
  3. Extend background colors, photos, and shapes to the outer bleed guide on every side.
  4. Keep text and logos in the safety area, at least 0.125 inch inside the trim edge.
  5. Download as PDF Print and select Crop marks and bleed. Artwork with effects or transparency: select Flatten PDF as well.
  6. Send us the PDF. If color settings are uncertain, export with embedded profiles and we manage conversion for the press.

How to add print bleed in InDesign

Bleed lives in Bleed and Slug

  1. Choose File › New Document and enter the final page size. Do not build bleed into the page size itself.
  2. Expand Bleed and Slug. Enter 0.125 inch for top, bottom, inside, and outside — the chain icon links all four.
  3. Place backgrounds so they extend to the red bleed line. Keep type and logos inside the page margins.
  4. Check edges, transparency, and placed graphics with View › Overprint Preview.
  5. Go to File › Export › Adobe PDF (Print) and pick the Press Quality preset.
  6. In Marks and Bleeds, check Crop Marks and Use Document Bleed Settings. Export.
  7. Posters and other large format: raise the bleed to 0.25 inch or more, then export with the same settings.

How to add print bleed in Photoshop

Bleed lives in Canvas size + guides

  1. Create a new document at the final trim size and 300 PPI.
  2. Add bleed guides one of two ways: grow Canvas Size by 0.25 inch in width and height (0.125 inch per side), or use View › New Guide Layout with 0.125-inch margins for the safety area and guides 0.125 inch outside the trim for bleed.
  3. Extend backgrounds and images past the trim guides to the outer bleed guides.
  4. Keep live text inside the safety area.
  5. Save as Photoshop PDF or TIFF; for PDF choose High Quality Print or Press Quality. No crop-mark option in your dialog? We add them during imposition.
  6. Convert to CMYK when required, or keep RGB with embedded profiles and we handle conversion for the chosen press and paper.

How to add print bleed in Illustrator

Bleed lives in New Document dialog

  1. Click File › New and set the final artboard size.
  2. Set Bleed to 0.125 inch on all sides in the same dialog.
  3. Extend background elements to the outer red bleed edge. Keep type inside the artboard margins.
  4. Preview the piece after trimming with View › Trim View.
  5. Choose File › Save As or Save a Copy, then Adobe PDF (Print) with the Press Quality preset.
  6. In Marks and Bleeds, check Trim Marks and Use Document Bleed Settings. Export.

04 Before export

The pre-print checklist

Run it before every export. It takes a minute and prevents rework.

  • Confirm the trim size and set the correct bleed.
  • Extend backgrounds and photos fully into the bleed.
  • Keep text and logos at least 0.125 inch inside the trim.
  • Make sure images are 300 PPI at final size.
  • Set colors for print — CMYK or specified spot colors.
  • Embed or outline all fonts.
  • Export a PDF with crop marks and document bleed.
  • Open the PDF at 200% and check the corners for continuous color past the trim.

Eight boxes ticked, and the file goes from preflight to press without a phone call.

05 The PDF

Download the guide (PDF)

The whole guide on a single sheet — print it, forward it, or keep it open beside your export dialog.

Download the guide

PDF · 1 page · 990 KB

06 Your file

Send the file, not a guess

Attach the artwork to your quote request. Prepress confirms the right bleed, checks complex folds or bindings, and makes sure the file is press-ready before anything runs — the way we’ve printed and mailed from our Mount Prospect plant since 1927.